

Introduction
Let’s be honest—most of us open Excel almost on autopilot. It could be to update marks, track expenses, prepare a report, or organise data for work or college. And while Excel can do a lot of advanced things, it’s the basic skills that really make daily work easier. One of those basics is knowing how to insert rows and columns properly. Doing this the right way helps you keep your data neat, avoid overwriting important information, and save time. In this article, I’ll walk you through simple methods, keyboard shortcuts, and a few common mistakes to watch out for.
What Does Inserting a Row or Column Mean in Excel?
Before getting into the steps, it’s useful to understand what Excel actually does when you insert something.
When you insert a row, Excel creates a new blank row and shifts all the existing data below it downward. Nothing is deleted—your data simply moves to make space.
When you insert a column, Excel adds a new column and pushes the existing columns to the right.
This is much safer than typing over existing cells. Instead of risking data loss, inserting rows or columns keeps everything organised and intact.
How to Insert a New Row in Excel
Method 1 – Using Right Click
This is the easiest and most commonly used method.
- Click on the row number where you want to add a new row.
- Right-click on that row number.
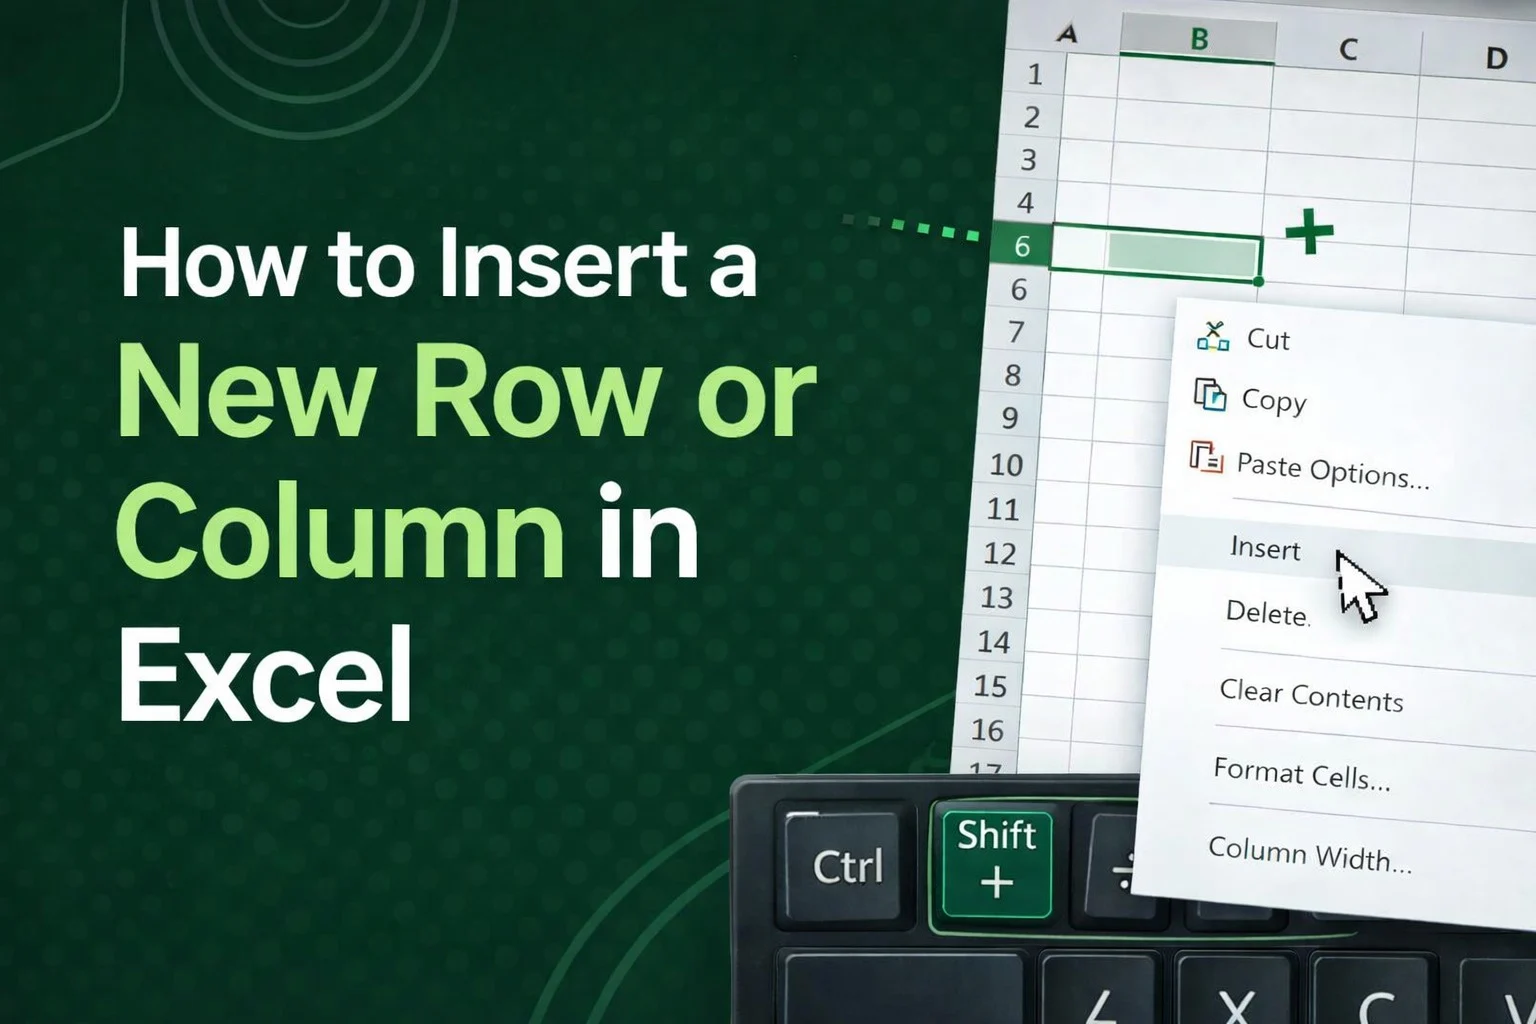
- Select Insert.
Excel will add a new row just above the selected row.
Method 2 – Using Keyboard Shortcut
If you use Excel often, shortcuts can save you a surprising amount of time.
Shortcut: Ctrl + Shift + +
Steps:
- Select the entire row by clicking its row number.
- Press Ctrl + Shift + +.
This shortcut is especially helpful when you need to insert rows quickly without using the mouse.
Method 3 – Using the Excel Ribbon
If you prefer menu options, this method works well.
- Select the row.
- Go to the Home tab.
- Click Insert in the Cells section.
- Choose Insert Sheet Rows.
How to Insert a New Column in Excel
Method 1 – Using Right Click
- Click on the column letter where you want the new column.
- Right-click on the column header.
- Click Insert.
The new column will appear to the left of the selected column.
Method 2 – Using Keyboard Shortcut
The shortcut for inserting a column is exactly the same as inserting a row.
Shortcut: Ctrl + Shift + +
Steps:
- Select the full column by clicking its letter.
- Press Ctrl + Shift + +.
This is one of the most searched Excel shortcuts—and once you get used to it, you’ll use it all the time.
Method 3 – Using the Excel Ribbon
- Select the column.
- Go to Home → Insert.
- Click Insert Sheet Columns.
How to Insert Multiple Rows or Columns in Excel
There are times when inserting just one row or column isn’t enough.
Inserting Multiple Rows
- Select the same number of rows as you want to insert.
- Right-click and choose Insert, or press Ctrl + Shift + +.
Excel will insert the new rows above your selection.
Inserting Multiple Columns
- Select multiple columns by dragging across the column letters.
- Right-click and choose Insert.
This is especially useful when working with large datasets or adding monthly or yearly data.
How to Insert Rows or Columns in Excel Tables
If your data is formatted as an Excel Table, things become even easier.
- Tables automatically expand when you insert new rows or columns.
- Formatting stays consistent.
- Formulas are copied automatically.
To insert a row in a table:
- Click anywhere inside the table.
- Right-click → Insert → Table Rows Above or Below.
For large or important datasets, tables are a safer option because Excel handles most of the structure for you.
Common Mistakes to Avoid
Even though inserting rows and columns is simple, a few mistakes can cause confusion later.
- Not selecting the entire row or column before inserting.
- Trying to insert rows within merged cells.
- Forgetting to check formulas after inserting new data.
- Inserting rows in filtered sheets without checking how Excel applies the change.
Taking a moment to check these things can save a lot of trouble later.
Pro Tips for Faster Excel Work
If you want to work more confidently in Excel, these small tips help:
- Get comfortable with keyboard shortcuts—they really do speed things up.
- Convert your data into tables before making major changes.
- Save your file before inserting multiple rows or columns.
These habits make Excel feel far less stressful.
Conclusion
Inserting rows and columns may seem like a small thing, but it’s a skill you’ll use constantly in Excel. Whether you prefer right-clicking, using shortcuts, or working through the ribbon, Excel gives you plenty of options. Once you start using shortcuts regularly, your work becomes faster and smoother. Just remember to keep an eye on formulas and formatting, especially when dealing with larger sheets.
FAQs
How do I insert a row using a shortcut?
Select the row and press Ctrl + Shift + +.
Does inserting a row affect formulas?
Most of the time, Excel updates formulas automatically, but it’s always wise to double-check.
How do I insert a row between two rows?
Select the row below, right-click, and choose Insert.
Can I insert rows in filtered data?
Yes, but be careful—Excel may insert rows only into visible data.
How do I insert multiple rows at once?
Select multiple rows first, then insert them together.
Why is the insert option sometimes disabled?
This usually happens because of merged cells or protected worksheets.