

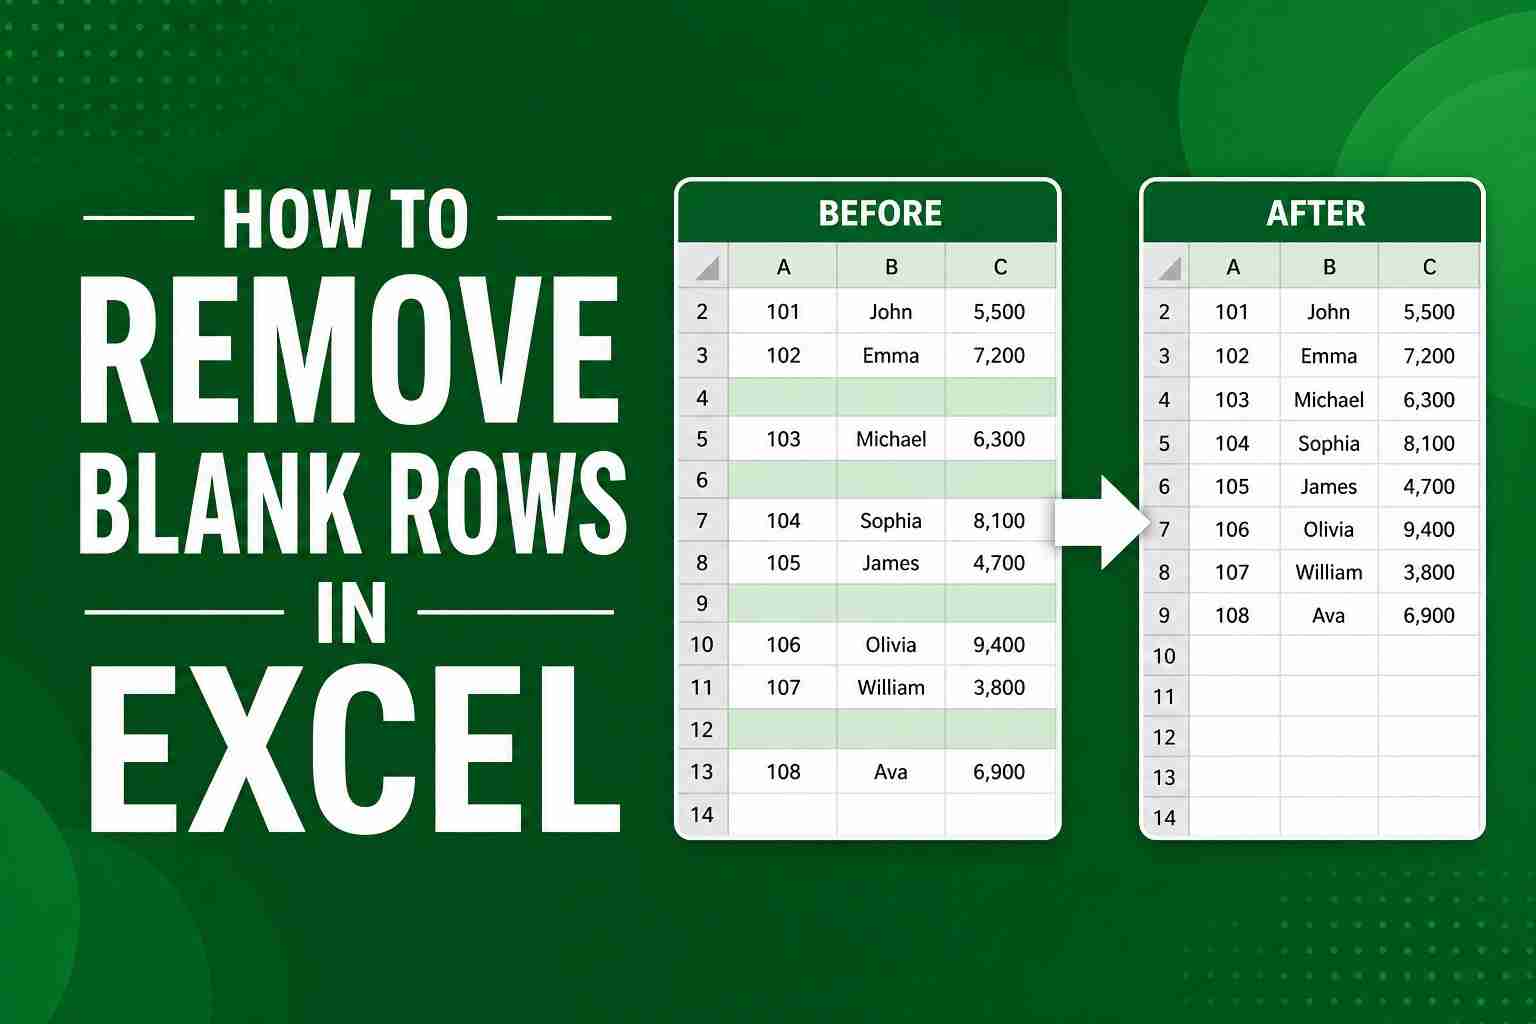
Blank rows in Excel are one of those little things that somehow cause big problems. You go to sort a list, and half your data ends up at the bottom. You write a quick formula, and it acts weird. Plus, honestly, it just looks sloppy if you’re sharing the file with anyone.
The good news? You can clean them up in a few seconds once you know the tricks. Here’s how.
The Fastest Way (Seriously, Learn This One)
If you forget everything else, remember this:
- Select your data. Press Ctrl + A if you want to grab it all.
- Hit Ctrl + G, click Special, then choose Blanks → OK.
- Right-click any of the highlighted blank cells, pick Delete, then Entire row.
- That’s it. They’re gone.
Takes about five seconds. Feels like magic the first time.
Why Bother Removing Blank Rows Anyway?
A couple of blank rows here and there doesn’t seem like a big deal. Until you try to sort. Or filter. Or use a pivot table. Then suddenly Excel acts like it’s never seen data before.
Blank rows also break things like basic math formulas. And if you’re sending the file to your boss or a client, those random empty lines just look unfinished. So yeah, worth cleaning up.
Method 1 – Go To Special (The One I Actually Use)
Steps:
- Select everything. (Ctrl + A twice if your data is in a nice block.)
- Ctrl + G → Special → Blanks.
- Right-click a highlighted cell → Delete → Entire row.
When to reach for this:
Pretty much anytime your data is clean and rectangular—sales reports, expense lists, customer emails. No extra columns, no filters, no fuss.
Method 2 – Filter Feature (Safer When You’re Unsure)
Steps:
- Click anywhere inside your data.
- Go to the Data tab → Filter (or just press Ctrl + Shift + L).
- Click the dropdown arrow on any column. Uncheck “Select All,” then check (Blanks).
- Select all the visible blank rows (click the first row number, hold Shift, click the last).
- Right-click → Delete row.
- Turn off the filter.
When to use this:
Big spreadsheets where you want to see what you’re deleting first. Or when blanks only exist in certain columns—this way you don’t accidentally delete rows that have data elsewhere.
Method 3 – Sort and Delete (Lazy but Effective)
Steps:
- Select your data range.
- Sort by any column (A to Z works fine).
- All the blank rows will move to the bottom automatically.
- Just select those bottom rows and delete them.
When to use this:
When you’re in a rush and don’t feel like remembering shortcuts. Warning though—this reorders your data. So if row order matters (like dates or sequences), skip this one.
Method 4 – Formula + Helper Column (For Messy Data)
Steps:
- Add a new column at the end. Call it something like “Empty?”
- In row 2, type: =COUNTA(A2:Z2)=0 (change the range to cover all your columns).
- Drag that formula all the way down.
- Filter or sort on that column for TRUE, then delete those rows.
When to use this:
You only want to delete rows that are completely empty. Or your data has weird stuff like spaces or formulas that return “” (those aren’t technically blank, but you still want them gone). This catches all of it.
Method 5 – Power Query (Fancy but Worth It)
Steps:
- Select your data → Data tab → From Table/Range.
- In the Power Query editor, click Remove Rows → Remove Blank Rows.
- Click Close & Load.
When to use this:
You clean the same report every week. Power Query remembers the steps, so next time you just hit refresh. Also handles huge datasets that make regular Excel freeze up.
Mistakes People Make (Me Included)
- Deleting cells instead of rows – This leaves blank cells scattered around. Always pick “Delete entire row.”
- Not selecting everything first – If you only highlight one column, Excel deletes rows based on that column alone. You might lose good data in other columns.
- Forgetting about invisible blanks – Some cells look empty but have spaces, line breaks, or formulas returning “”. The methods above won’t catch those unless you clean them first. Try =TRIM(CLEAN(A1)) if that’s happening.
A Few Tips to Make This Faster
- Ctrl + Shift + L turns filters on and off instantly. Use it.
- Turn your data into a Table (Ctrl + T). Tables remember filter settings and auto-expand ranges.
- Quick check for hidden junk: Select your data, hit Ctrl + H, leave Find what blank, replace with “CHECK”. If anything changes, you have invisible characters.
So Which One Should You Actually Use?
- Go To Special – everyday stuff. Fast and easy.
- Filter – big files or when you want to be careful.
- Sort – speed is king and order doesn’t matter.
- Helper formula – only delete fully empty rows.
- Power Query – same report over and over again.
Honestly? Most of the time I just use Go To Special. It’s short, it works, and I don’t have to think.
FAQs
How do I delete blank rows quickly?
Ctrl + G → Special → Blanks → right-click → Delete row. Seriously, try it once and you’ll remember forever.
Can I remove blank rows without messing up my other data?
Yes, as long as you select everything first. If you only select part of the sheet, you’ll shift things out of alignment.
What’s the absolute fastest method in Excel?
Go To Special. No extra columns, no sorting, no formulas. Just a few clicks.
How to remove blank rows in huge datasets (like 100k+ rows)?
Use Power Query or the filter method. Sorting gets slow on that much data. Power Query handles it like a champ.