by Bethany Institutions | Nov 24, 2025
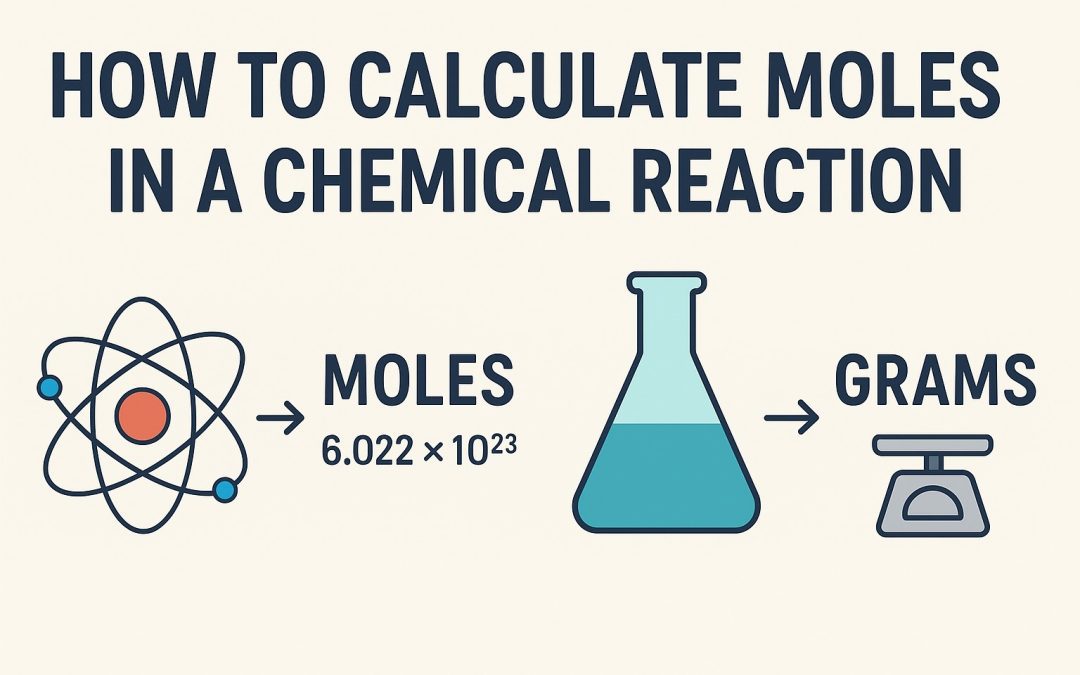
Understanding how to calculate moles is the key to unlocking all of stoichiometry. Think of a mole as a chemist’s “dozen”—but instead of 12, it’s a huge number (6.022 × 10²³) that allows us to count tiny atoms and molecules by weighing them or measuring their volume. We use moles to balance chemical equations, predict how much product we’ll get, and determine the exact amounts of reactants needed.
Understanding What a Mole Means
Simply put, a mole is the standard unit for measuring the amount of a substance in chemistry.
- 1 mole of any substance contains Avogadro’s number of particles (atoms, molecules, ions). That’s 6.022 × 10²³.
- Why do we use moles? We can’t count atoms one by one, but we can easily measure grams or liters. The mole bridges this gap, connecting the microscopic world of atoms to the macroscopic world we live in.
Step 1 – Find the Number of Moles of a Known Substance
Your starting point is always calculating the moles of the substance you already have information about. The method depends on the data you’re given.
(a) From Mass
This is the most common method. You use it when you know the mass of your solid or liquid.
Formula:
Moles (n) = Mass (g) / Molar Mass (g/mol)
- Molar Mass: The mass of 1 mole of a substance. Find it by adding the atomic masses of all the atoms in its formula from the periodic table.
Example: Calculate the moles of NaCl in a 58.5 g sample.
- Molar Mass of NaCl: (Atomic mass of Na = 23.0) + (Atomic mass of Cl = 35.5) = 58.5 g/mol.
- Moles (n): n = 58.5 g / 58.5 g/mol = 1.00 mol
| Substance | Mass (g) | Molar Mass (g/mol) | Moles (n) |
| NaCl | 58.5 | 58.5 | 1.00 |
(b) From Concentration (Solutions)
Use this when you are working with a liquid solution of known concentration.
Formula:
Moles (n) = Concentration (M) × Volume (L)
- Crucial: Volume must be in Liters (L).
Example: Calculate the moles of HCl in 0.5 L of a 2 M solution.
- Moles (n): n = 2 mol/L × 0.5 L = 1.0 mol
(c) From Gas Volume (at STP)
For gases at Standard Temperature and Pressure (STP: 0°C and 1 atm), 1 mole of any gas occupies 22.4 Liters.
Formula:
Moles (n) = Volume of Gas (L) / 22.4 L/mol
Example: How many moles are in 44.8 L of O₂ gas at STP?
- Moles (n): n = 44.8 L / 22.4 L/mol = 2.00 mol
Note: This is only valid at STP. For other conditions, use the Ideal Gas Law (PV = nRT).
Step 2 – Use the Mole Ratio from the Balanced Equation
This is the heart of stoichiometry. The coefficients in a balanced chemical equation tell you the ratio in which moles of reactants and products interact.
Formula:
Moles of Unknown = Moles of Known × (Coefficient of Unknown / Coefficient of Known)
Example: In the reaction 2H₂ + O₂ → 2H₂O, if 1.39 moles of H₂O are formed, how many moles of O₂ were used?
- Identify the Mole Ratio: From the equation, 2 moles of H₂O are produced for every 1 mole of O₂ consumed. So the ratio of (O₂ / H₂O) is 1/2.
- Apply the Formula:
Moles of O₂ = Moles of H₂O × (Coefficient of O₂ / Coefficient of H₂O)
Moles of O₂ = 1.39 mol × (1 / 2) = 0.695 mol
Step 3 – Cross-Check Units and Consistency
Accuracy is key! Always double-check your units to avoid simple mistakes.
| If You Have | And You Want | Conversion Action |
| mL | L | ÷ 1000 |
| mg | g | ÷ 1000 |
| g | mol | ÷ Molar Mass |
| mol | atoms/molecules | × 6.022×10²³ |
| L of Gas (at STP) | mol | ÷ 22.4 L/mol |
Step 4 – Practice Example: Calculating Moles in a Reaction
Let’s combine all the steps into one complete problem.
Question: What mass of water (H₂O) is produced when 4.0 grams of hydrogen gas (H₂) reacts with excess oxygen?
Solution Steps:
- Write the balanced equation:
2H₂ + O₂ → 2H₂O - Step 1: Find moles of known substance (H₂).
- Molar Mass of H₂ = 2 × 1.008 = 2.016 g/mol
- Moles of H₂ = 4.0 g / 2.016 g/mol ≈ 1.98 mol
- Step 2: Use the mole ratio to find moles of unknown (H₂O).
- From the equation: 2 mol H₂ produces 2 mol H₂O. Ratio is 2/2 = 1.
- Moles of H₂O = 1.98 mol H₂ × (2 mol H₂O / 2 mol H₂) = 1.98 mol H₂O
- Convert back to mass (if required).
- Molar Mass of H₂O = (2×1.008) + 16.00 = 18.016 g/mol
- Mass of H₂O = 1.98 mol × 18.016 g/mol ≈ 35.7 g
Final Answer: Approximately 36 grams of water are produced.
Common Mistakes to Avoid
- Skipping the balance step: Always start with a balanced chemical equation.
- Incorrect molar mass: Remember H₂ is 2 g/mol, not 1 g/mol. For NaCl, it’s Na + Cl, not just Na.
- Unit mix-ups: Never use mL in M₁V₁ = M₂V₂ or the concentration mole formula without converting to L first.
- Misapplying the mole ratio: Make sure the “known” and “unknown” are in the correct positions in the ratio fraction.
Real-Life Applications of Mole Calculations
- Pharmaceuticals: Determining the precise amount of each reactant needed to synthesize a drug.
- Environmental Science: Calculating the amount of CO₂ emissions from burning a tank of gasoline.
- Agriculture: Formulating fertilizers with the correct nitrogen, phosphorus, and potassium (N-P-K) ratios for crops.
- Cooking: It’s the same principle as using a recipe—a balanced equation tells you the “mole ratio” of flour to eggs to sugar to make a perfect cake!
FAQ Section
Q1. What is the formula to calculate moles from mass?
n = Mass (g) / Molar Mass (g/mol)
Q2. How do you find the mole ratio in a chemical equation?
From the coefficients in the balanced equation. For N₂ + 3H₂ → 2NH₃, the ratio of N₂ to H₂ is 1:3.
Q3. What is 22.4 L in mole calculations?
It is the molar volume of an ideal gas at Standard Temperature and Pressure (STP), meaning 1 mole of any gas occupies 22.4 Liters.
Q4. Why do we use moles in chemistry?
To create a practical bridge between the number of atoms/molecules (which we can’t count directly) and a measurable quantity like mass or volume.
Q5. Can I calculate moles for gases at non-STP conditions?
Yes! For non-STP conditions, you must use the Ideal Gas Law: PV = nRT, where P is pressure, V is volume, n is moles, R is the gas constant, and T is temperature in Kelvin.
by Bethany Institutions | Oct 31, 2025
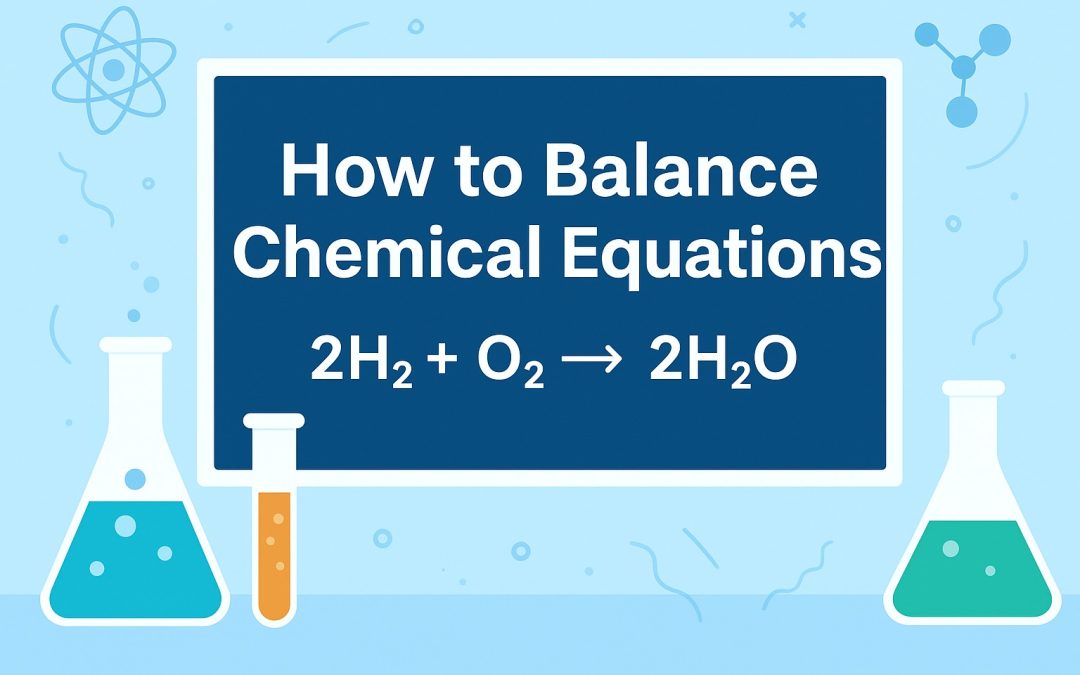
Balancing chemical equations is a fundamental skill in chemistry. It ensures that the representation of a chemical reaction adheres to the fundamental laws of nature. This guide will explain the principle behind balancing, provide a step-by-step method, and highlight common mistakes to avoid.
Understanding the Law of Conservation of Mass
The process of balancing a chemical equation is based entirely on the Law of Conservation of Mass. This law states that matter cannot be created or destroyed in a chemical reaction. Therefore, the number of atoms of each element present in the reactants must equal the number of atoms of that same element in the products.
The following table illustrates the imbalance in an unbalanced equation and the corrected state after balancing:
| Element | Reactant Side Atom Count | Product Side Atom Count | Balanced? |
| Unbalanced: H₂ + O₂ → | H₂O | | |
| Hydrogen (H) | 2 | 2 | Yes |
| Oxygen (O) | 2 | 1 | No |
| Balanced: 2H₂ + O₂ → | 2H₂O | | |
| Hydrogen (H) | 4 | 4 | Yes |
| Oxygen (O) | 2 | 2 | Yes |
Steps to Balance a Chemical Equation
Follow this methodical approach to balance any chemical equation.
Step 1 – Write the Unbalanced Equation
Write the correct chemical formulas for all reactants on the left and all products on the right, separated by an arrow. For example, the combustion of methane is initially written as:
CH₄ + O₂ → CO₂ + H₂O
Step 2 – Count the Atoms on Both Sides
Make a tally of how many atoms of each element are present on the reactant side and the product side.
- Reactants: C=1, H=4, O=2
- Products: C=1, H=2, O=3
Step 3 – Add Coefficients
Use coefficients (numbers placed in front of a chemical formula) to balance the atoms. Never change the subscripts within a chemical formula, as this would create a different substance entirely.
Start by balancing elements that appear in only one formula on each side. In this case, we can start with hydrogen or oxygen. Let us balance hydrogen first. Placing a ‘2’ in front of H₂O gives it four hydrogen atoms.
CH₄ + O₂ → CO₂ + 2H₂O
Now, recount the atoms: H is balanced (4 on each side), but O is not (2 on reactant side, 4 on product side).
Step 4 – Recount and Adjust
After each coefficient change, recount all atoms. To balance oxygen, place a ‘2’ in front of O₂.
CH₄ + 2O₂ → CO₂ + 2H₂O
Recount: C=1, H=4, O=4. All atoms are now balanced.
Step 5 – Final Check
Verify that the number of atoms for every element is equal on both sides and that the coefficients are in their simplest whole-number ratio.
Example – Balancing the Formation of Water
Let us walk through the classic example: H₂ + O₂ → H₂O
- Unbalanced Equation: H₂ + O₂ → H₂O
- Count Atoms: Reactants: H=2, O=2. Products: H=2, O=1. Oxygen is unbalanced.
- Add Coefficients: To balance oxygen, place a ‘2’ in front of H₂O: H₂ + O₂ → 2H₂O
- Recount: Now, hydrogen is unbalanced (Reactants: H=2, Products: H=4).
- Adjust: Place a ‘2’ in front of H₂: 2H₂ + O₂ → 2H₂O
- Final Check: Reactants: H=4, O=2. Products: H=4, O=2. The equation is balanced.
Key Rules and Helpful Tips
- Never Change Subscripts: Altering H₂O to H₂O₂ changes water into hydrogen peroxide, a completely different compound.
- Balance Elements Appearing Once First: Focus on elements that are part of a single molecule on each side first, as they are easiest to balance.
- Treat Polyatomic Ions as a Unit: If a polyatomic ion (like SO₄²⁻ or NO₃⁻) appears unchanged on both sides, balance it as a single unit.
- Use Fractions Temporarily: If needed, you can use fractional coefficients (like ½ O₂) during the process and then multiply the entire equation by the denominator to get whole numbers.
Common Mistakes Students Make
- Changing Subscripts: This is the most critical error. It changes the chemical identity of the substances involved.
- Incorrect Atom Counting: Forgetting to multiply all atoms in a formula by the coefficient (e.g., in 2H₂O, there are 4 H atoms and 2 O atoms).
- Ignoring Diatomic Molecules: Elements like Oxygen (O₂), Hydrogen (H₂), and Chlorine (Cl₂) exist as diatomic molecules in their pure elemental form.
- Forgetting to Multiply Through: When clearing fractions, ensure every coefficient is multiplied by the same number.
Real-Life Application
Balancing chemical equations is not just an academic exercise. It is essential for:
- Industrial Chemistry: Determining the exact amounts of reactants needed to produce a desired amount of product, which minimizes waste and cost.
- Environmental Science: Modeling combustion processes, such as the burning of natural gas (CH₄ + 2O₂ → CO₂ + 2H₂O), to understand and control emissions.
- Laboratory Analysis: Calculating yields and understanding the stoichiometry of reactions in research and development.
Summary
A chemical equation must be balanced to satisfy the Law of Conservation of Mass. The number of atoms for each element in the reactants must equal the number in the products. This is achieved solely by adjusting coefficients in front of the chemical formulas. A balanced equation provides a quantitative foundation for all chemical calculations.
FAQ’s
Why do we need to balance chemical equations?
We balance chemical equations to obey the Law of Conservation of Mass, which states that atoms are neither created nor destroyed in a chemical reaction. A balanced equation accurately reflects the actual quantities of substances involved.
Can subscripts be changed to balance equations?
No. Changing a subscript alters the fundamental chemical formula and creates a different compound. Only coefficients, which multiply the entire formula, can be changed.
What is the easiest way to start balancing equations?
Start by balancing the element that appears in the fewest formulas on each side of the equation. Saving hydrogen and oxygen for last is often helpful.
What does the coefficient represent in a chemical equation?
A coefficient represents the number of molecules, formula units, or moles of a substance involved in the reaction.
How do you check if your equation is balanced?
Create a table for each element and count the total number of atoms on the reactant side and the product side. If all the numbers match, the equation is balanced.
by Bethany Institutions | Oct 29, 2025
Have you ever wondered why lemon juice tastes sour, or why soap feels slippery? The answer lies in a simple but powerful concept in chemistry — pH. Understanding how to find the pH of a solution helps us see how acidic or basic something is, and it plays a huge role in everything from biology and medicine to food, farming, and water treatment.
Let’s dive in together and learn how to calculate pH step by step, understand what it means, and even see how it’s used in real life.
Understanding What pH Means
Before we start crunching numbers, let’s understand what pH actually tells us.
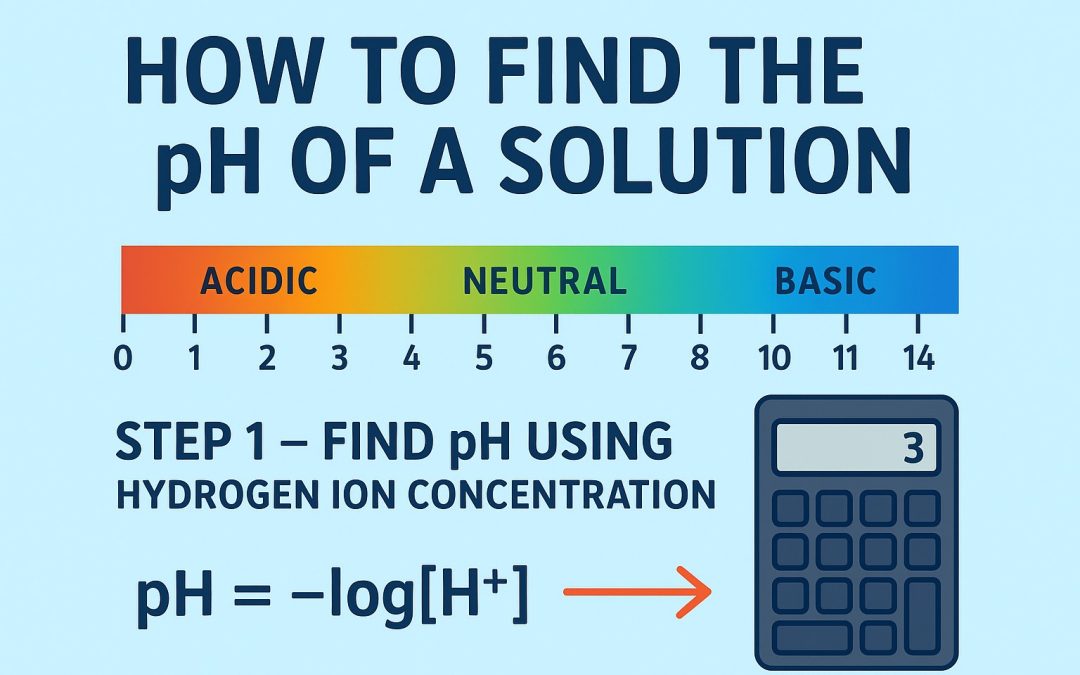
In simple terms, pH is a measure of hydrogen ion concentration in a solution — written as [H⁺]. The more hydrogen ions present, the more acidic the solution is.
The pH scale runs from 0 to 14:
- 0–6 → Acidic (think lemon juice or vinegar)
- 7 → Neutral (like pure water)
- 8–14 → Basic or Alkaline (like baking soda or soap)
So, a low pH means the solution is acidic, while a high pH means it’s basic.
Visual idea: A colourful pH scale from red (acidic) to blue (basic), showing where everyday items like lemon juice (pH 2), water (pH 7), and soap (pH 10) fit in.
Step 1 – Find pH Using Hydrogen Ion Concentration
Now that we know what pH means, let’s move on to how we actually calculate it.
The pH calculation formula is:
pH=−log[H+]\text{pH} = -\log[H^+]pH=−log[H+]
This simply means we take the negative logarithm (base 10) of the hydrogen ion concentration.
Example:
If the hydrogen ion concentration is [H⁺] = 1 × 10⁻³,
then
pH=−log(1×10⁻³)=3\text{pH} = -\log(1 × 10⁻³) = 3pH=−log(1×10⁻³)=3
So the pH is 3, meaning it’s an acidic solution.
💡 Tip: The lower the [H⁺], the higher the pH — and that means the solution becomes more basic.
Visual idea: An image of a scientific calculator displaying the log function or a simple logarithmic scale.
Step 2 – Calculate pH from pOH (for Basic Solutions)
Not all solutions start with hydrogen ions. Sometimes, we’re given hydroxide ion concentration [OH⁻] instead. For these, we first calculate pOH and then find pH using their relationship.
The formulas are:
pOH=−log[OH−]\text{pOH} = -\log[OH^-]pOH=−log[OH−]
and at 25°C,
pH+pOH=14\text{pH} + \text{pOH} = 14pH+pOH=14
Example:
If [OH⁻] = 1 × 10⁻²,
then
pOH=−log(1×10⁻²)=2\text{pOH} = -\log(1 × 10⁻²) = 2pOH=−log(1×10⁻²)=2
and
pH=14−2=12\text{pH} = 14 – 2 = 12pH=14−2=12
That tells us the solution is strongly basic.
| [OH⁻] | pOH | pH |
| 1×10⁻¹ | 1 | 13 |
| 1×10⁻² | 2 | 12 |
| 1×10⁻³ | 3 | 11 |
This makes it much easier to calculate pH from OH⁻ concentration directly.
Step 3 – Find pH of a Buffer Solution (Henderson–Hasselbalch Equation)
Sometimes we deal with solutions that resist changes in pH even when we add small amounts of acid or base. These are called buffers.
The Henderson–Hasselbalch equation helps us calculate their pH:
pH=pKa+log[A−][HA]\text{pH} = \text{pKa} + \log\frac{[A^-]}{[HA]}pH=pKa+log[HA][A−]
Where:
- pKa = dissociation constant of the acid
- [A⁻] = concentration of the conjugate base
- [HA] = concentration of the weak acid
Example:
For an acetic acid buffer where pKa = 4.76 and [A⁻]/[HA] = 1,
pH=4.76+log(1)=4.76\text{pH} = 4.76 + \log(1) = 4.76pH=4.76+log(1)=4.76
That’s how we calculate pH of acidic solution containing a weak acid and its conjugate base.
Visual idea: Diagram showing the balance between a weak acid and its conjugate base, labelled “Buffer Zone”.
Step 4 – Calculate pH During a Titration
When we perform a titration (adding one solution to another to determine its concentration), the pH changes gradually. Let’s look at how to calculate it at different stages.
Before the Equivalence Point
The pH depends on the excess of the unreacted acid or base. If we’re titrating a weak acid with a strong base, we can use the buffer formula here.
At the Equivalence Point
- For a strong acid–strong base titration, pH = 7 (neutral).
- For a weak acid–strong base titration, pH > 7 because of salt hydrolysis.
After the Equivalence Point
Once the base (or acid) is in excess, the pH is determined by that extra component.
Visual idea: A titration curve graph (pH vs. volume added), showing the rise in pH before, at, and after the equivalence point.
Step 5 – Physical Methods to Measure pH
So far, we’ve looked at how to calculate pH theoretically. But in a lab or in the real world, we can also measure it directly.
Using a pH Meter
A pH meter gives the most accurate measurement. It works by detecting the voltage difference between two electrodes dipped in the solution. The reading is instantly converted into pH.
Visual idea: A diagram or photo of a pH meter setup.
Using Litmus Paper or pH Strips
For a quick and simple check, pH strips or litmus paper can be used. We just dip the strip into the solution and match the colour to a chart to estimate the pH.
Visual idea: Colour chart with shades corresponding to different pH levels.
Common Mistakes to Avoid
As we calculate pH and pOH, there are a few common errors that often trip us up:
- Using the wrong logarithm base (always log₁₀, not natural log).
- Forgetting that pH + pOH = 14 is valid only at 25°C.
- Mixing up [H⁺] and [OH⁻] in the formulas.
- Not balancing concentrations correctly in buffer calculations.
Paying attention to these details helps us avoid unnecessary confusion and get accurate results.
Real-Life Applications of pH Calculation
Knowing how to calculate pH isn’t just for exams — it’s incredibly useful in real life!
- Soil testing in agriculture: Farmers monitor soil pH to ensure crops grow in the right conditions.
- Water treatment and swimming pools: pH control prevents corrosion and maintains safety.
- Food and beverages: From yoghurt to soft drinks, acidity levels affect taste and preservation.
- Healthcare: Blood pH monitoring is vital for detecting health conditions.
So, the next time we dip a strip into water or see “pH balanced” on a shampoo bottle, we’ll know the science behind it!
FAQs
Q1.What is the easiest formula to calculate pH?
The simplest and most common formula is pH = −log[H⁺].
Q2.How do I find pH if I only know pOH?
Use pH = 14 − pOH (at 25°C).
Q3.What is the pH of pure water?
Pure water is neutral, so pH = 7 at 25°C.
Q4.Why does the pH + pOH = 14 rule change with temperature?
Because the ionisation constant of water (Kw) changes with temperature, slightly altering the sum.
How is pH measured in real experiments?
With a pH meter for precise results, or with pH paper for a quick estimate.
by Bethany Institutions | Sep 29, 2025
What is hard water?
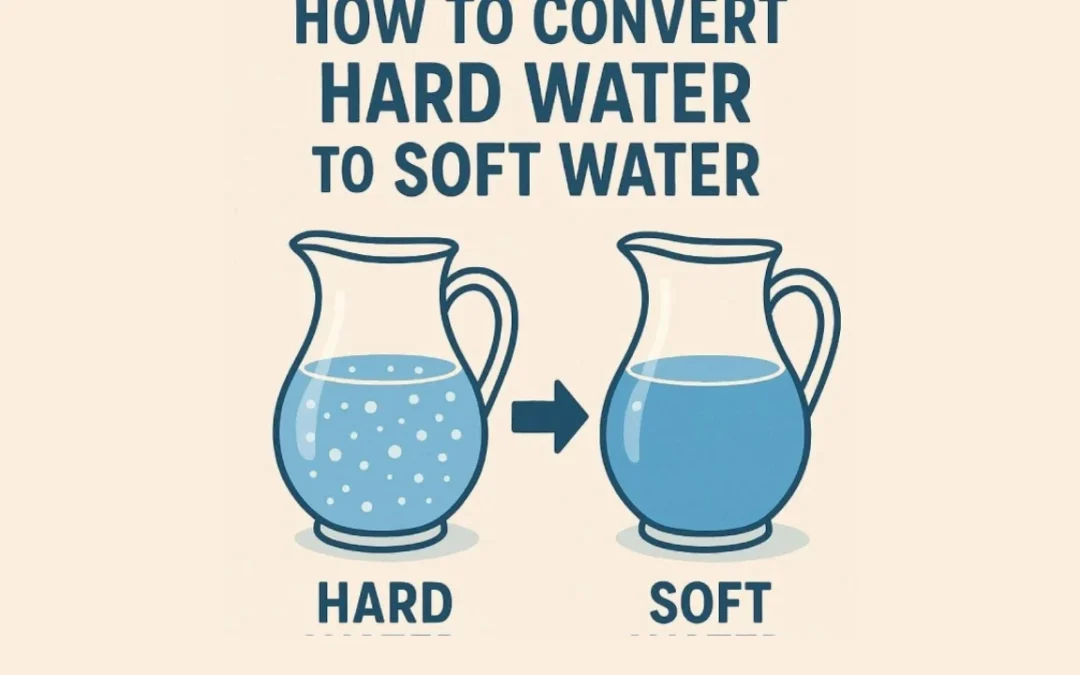
Hard water is simply water that contains a high amount of dissolved minerals, mainly calcium and magnesium ions. These are picked up as water flows through rocks and soil. While they don’t make water unsafe to drink, they do create a host of everyday problems.
There are two types of hard water:
- Temporary Hardness – Caused by bicarbonates of calcium and magnesium. This can usually be removed by boiling.
- Permanent Hardness – Caused by sulphates or chlorides of calcium and magnesium. Boiling won’t help here; stronger methods are needed.
Knowing the type of hardness is the first step in learning how to treat hard water at home.
Why Should We Soften Hard Water?
Alright, team. This is our game plan. We’ll use these steps for almost any linear equation we encounter.
Before we dive into the methods, let’s think about why softening water really matters.
- Better cleaning: Soap and detergent lather more easily in soft water.
- Appliance protection: Reduces scale build-up in heaters, pipes, and machines.
- Healthier skin and hair: Soft water feels gentler when we bathe or wash our hair.
- Savings: Less soap, detergent, and fewer repairs mean more money in our pockets.
Clearly, softening water is not just about comfort; it’s also about care and cost-saving.
Convert Hard Water into Soft Water Step-by-Step Methods
Now comes the practical bit. Here are some common and reliable ways we can use:
- Boiling: If water contains temporary hardness due to calcium bicarbonate (Ca(HCO₃)₂), simply boiling it can help. On heating, the bicarbonate breaks down and forms insoluble calcium carbonate (CaCO₃), which settles at the bottom as chalky deposits.
- Best for: Drinking water with temporary hardness.
- Limitations: Doesn’t work for permanent hardness.
2. Adding Washing Soda (Sodium Carbonate)
When we add washing soda (Na₂CO₃), it reacts with calcium and magnesium salts, forming insoluble compounds that settle out. This softens the water.
- Best for: Washing clothes or cleaning purposes.
- Important tip: Never use washing soda for drinking water as it is unsafe.
3. Using Ion Exchange Resins
This method feels more scientific but is very practical. Ion exchange resins swap calcium and magnesium ions with sodium ions, leaving us with soft water. Many household water softener units use this system.
- Best for: Household supply of water.
- Benefits: Reliable, automatic, and safe for daily use.
4. Distillation
In this process, water is boiled and then the steam is condensed back into liquid form. Since calcium and magnesium salts do not evaporate, the condensed water is soft.
- Best for: Laboratories or small quantities of water.
- Limitations: Expensive and impractical for large-scale home use.
5. Commercial Water Softeners
We can now find ready-to-install domestic water softeners that work on ion exchange principles or other filtration methods. These are long-term solutions that save us the headache of manual treatment.
- Best for: Families or institutions facing constant hard water problems.
- Benefits: Convenient and effective.
6. Natural Pre-Filters
Traditional methods like filtering water through sand, charcoal, or cloth help remove dirt and impurities. While these filters do not completely soften water, they make it cleaner before further treatment.
- Best for: Rural or temporary setups.
- Limitations: Do not remove hardness-causing minerals entirely.
Key Rules and Tips for Treating Hard Water
When we deal with hard water, a few simple rules help us avoid mistakes:
- Always test the water first to know if the hardness is temporary or permanent.
- Remember that boiling only removes temporary hardness.
- Never use washing soda in drinking water.
- For long-term household use, ion exchange softeners are the most dependable.
- Always store softened water in clean containers to avoid recontamination.
Common Mistakes We Often Make
Even when we know the theory, we sometimes get things wrong in practice. Here are some pitfalls to avoid:
- Thinking about boiling can remove permanent hardness (it cannot).
- Adding washing soda to drinking water is unsafe and harmful.
- Assuming simple cloth or sand filters completely remove hardness (they only clean impurities).
A Quick Example
Let’s imagine we have water containing calcium bicarbonate.
When we boil it, this chemical reaction happens:
Ca(HCO₃)₂ → CaCO₃ (insoluble) + H₂O + CO₂
The insoluble calcium carbonate settles down as chalk-like deposits, and the water left above is softer. This is a clear example of how boiling works for temporary hardness.
Conclusion
Learning how to remove the hardness of water is more than just a science lesson; it’s a practical life skill. By choosing the right method, we can make our daily tasks easier, save soap and money, and keep our appliances running longer.
For drinking purposes, boiling and ion exchange are safe choices. For larger household needs, commercial softeners are the most effective. With just a little effort, we can convert hard water to soft water and enjoy the benefits every single day.
FAQs
Q1. Can boiled water be used for drinking?
Yes, boiled water is safe to drink, andis the hardness was temporary, it becomes softer too.
Q2. What is the best method for regular household use?
Ion exchange resins or commercial softeners are the most practical and reliable options.
Q3. Is soft water completely pure?
No. Soft water only has fewer hardness minerals. It still needs to be stored and handled properly.
Q4. Does boiling water remove all types of hardness?
No. Boiling removes only temporary hardness, not permanent hardness.
Q5. Can natural filters make hard water soft?
No, natural filters reduce dirt and impurities but do not remove the minerals causing hardness.